Prismatic Pride: Create Rainbow Density Columns
Discovery Place Kids Rockingham
At Discovery Place, we believe all people deserve equal rights regardless of identity and background, including gender identity and sexual orientation. We celebrate Charlotte Pride to demonstrate inclusivity and support for the LGBTQIA+ community. Inspired by the iconic Pride rainbow flag, creating rainbow density columns is a delightfully colorful and fun, family-friendly way to celebrate Charlotte Pride at home with science!

The rainbow flag is often used to represent the whole LGBTQIA+ community, but there are many other pride flags. These more specific flags provide visibility to communities who otherwise may be excluded or ignored.
Pride flags with distinct colors and designs represent different sexualities, gender identities and diverse groups with historic ties to the LGBTQIA+ community. The rainbow flag has become a universal symbol of pride, equality and inclusion.
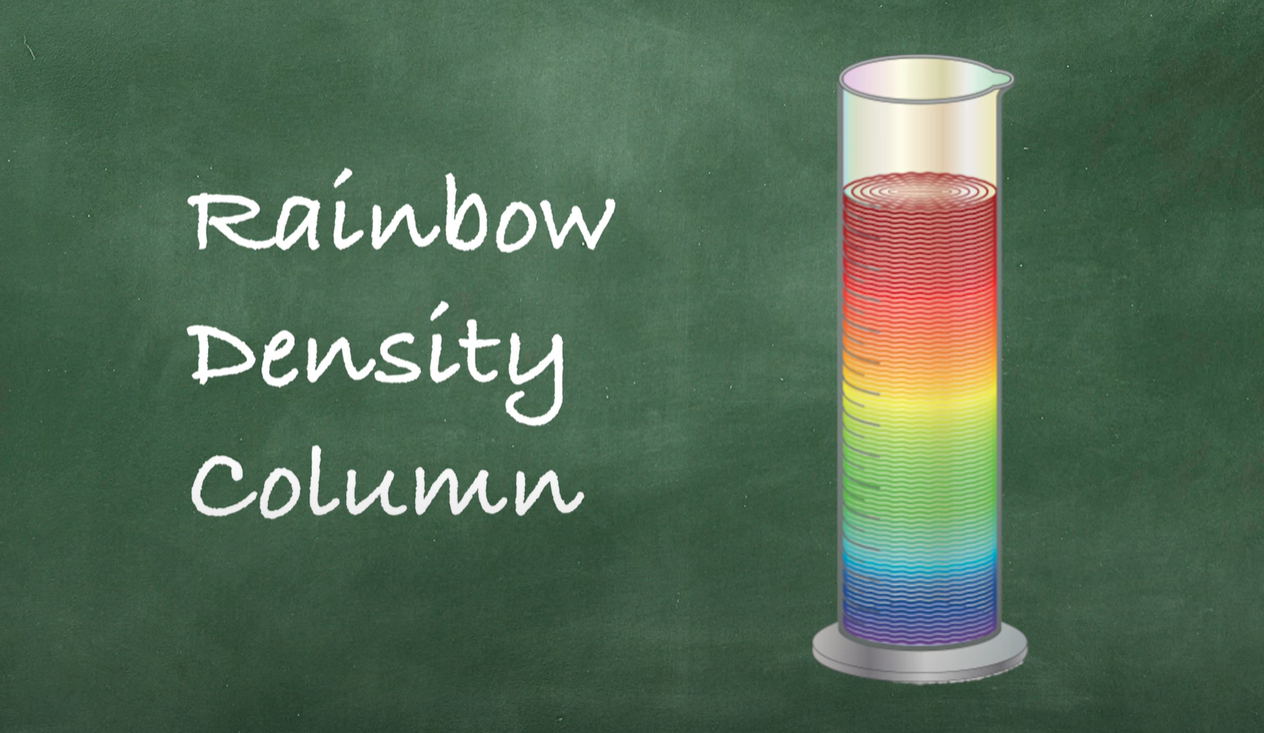
What is a density column?
A density column is a tall container of liquids stacked in layers that remain separate because each solution has a different density. Density measures the amount of mass or matter per unit of volume.
Because heavy liquids have more mass per unit of volume than lighter liquids, the former will sink and the latter will float. This rainbow density project teaches principles of density, solubility, measurement, and color theory.
Learning Time: 15-20 minutes
Prep Time: 5-15 minutes
Age Range: Preschool to elementary
Materials:
- Clear, tall glass or plastic container
- Hot water
- Sugar
- Food coloring or liquid watercolors*
*Older children only
- Cups (or bowls) and mixing utensils
- Measuring cups
- Pipettes (optional)
- Hot glue gun (optional)
Preparation:
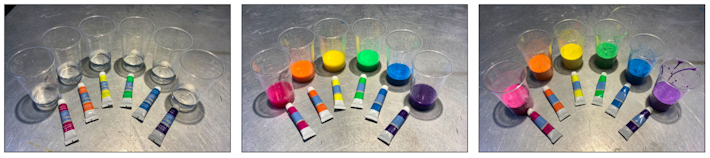
1. Collect and arrange rainbow density column materials.
- 6 cups (or bowls) are required for a standard rainbow, but you can make as many or few colors as desired.
- Make sure containers are super clean or mold may grow in water!
2. Before starting, adults may need to preheat water by boiling on stove or microwaving for about 1:30 minutes. Use hot tap water for children under 8 years old.
3. This rainbow density column recipe is non-toxic and completely safe for babies and toddlers to engage with when dyed with food coloring. Be sure to use food coloring rather than liquid watercolor if you have young children. Older kids and adults can experiment with liquid watercolors to create more vibrant rainbow density columns in brighter hues.
4. Adults may need to assist children under 8 years old with measuring and pouring liquids into containers, as well as sealing lids if hot glue is required.
Directions:
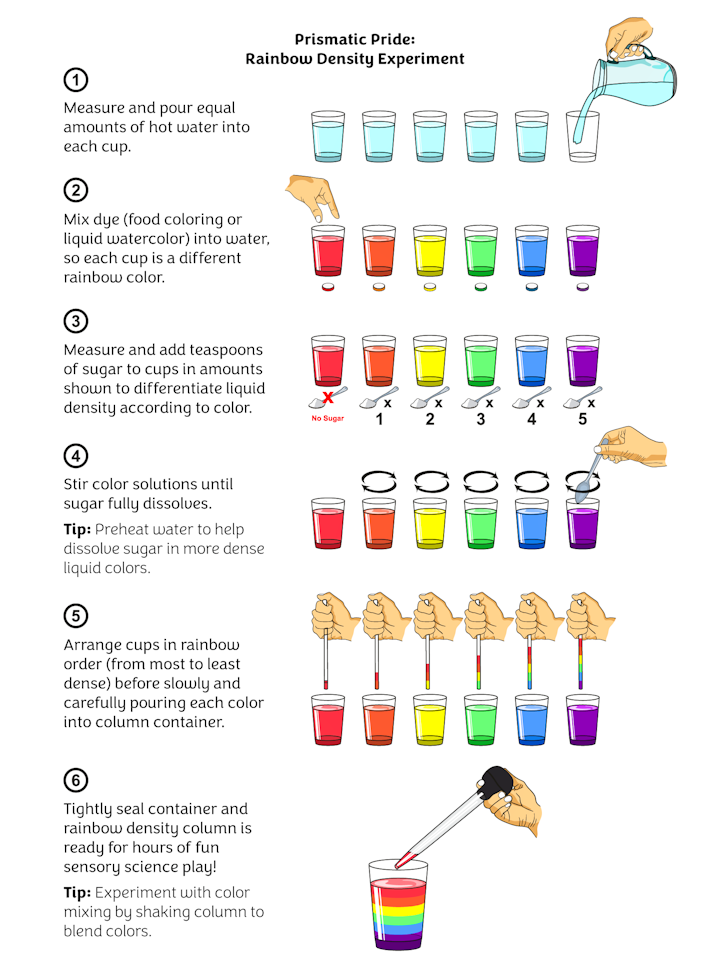
1. Measure and pour equal amounts of hot water into each cup or bowl. The water amount depends on container size, but 3 tablespoons of water per cup is a good starting amount.

Caregiver Tip: You may need to preheat water to dissolve sugar in more dense solutions. Boiling water works best, but if you have young helpers, you should stick with hot tap water or water microwaved at a lower heat.
Add varying amounts of sugar to each cup or bowl. The amounts of sugar and water are not critical, so long as the lowest layer has the most sugar and each layer above it has less sugar. Greater differences in sugar amounts across solutions produces more distinct layers that blend less.
2. Mix food coloring (or liquid watercolor, as pictured) into water, so each cup is dyed a different color of the rainbow. Keep in mind that adding food coloring slightly changes density, making heavy liquids a bit lighter and light liquids a bit denser. If you prefer more vibrant colors, quite a bit of coloring (ideally liquid watercolor) is needed.

This is a great opportunity to teach kids about color theory and mixing. Before adding dye, ask which colors would make green, orange and purple. Work together to experiment and select dye combinations before mixing each color.
3. Combine to create rainbow density column by slowly and carefully pouring each cup of color into the tall, larger container. Line up liquids in rainbow order (from most to least dense) before you start pouring.
- Pour and fill slowly! It is much easier to add more than it is to remove excess.
- Caregiver Tip: Encourage children to estimate where fill marks would be on the larger container before pouring. Older children then must control their pouring speed, slowing down just before they get to the marks. Children’s hand-eye coordination will be tested, so be sure to protect work surfaces from spills.
4. (Optional) Once satisfied with the contents, adults can seal the large container by dotting the lid with hot glue to seal it tightly.
5. Your rainbow density column is ready for hours of fun sensory science exploration!
Rainbow Density Science
There are endless ways you can engage with your rainbow density column! It is perfect for experimentation – you can try different mixtures, make comparisons and draw conclusions. Here are just a few ideas to extend your rainbow density column sensory exploration.
Rainbow density columns directly stimulate sensory play, a hands-on learning method that enhances children’s experience of the world and allows their brains to make important connections that facilitate understanding.
Sensory play with rainbow density columns addresses a wide range of skills and concepts and can be adapted to meet the needs of the children using them.
Playing with rainbow density columns can teach color theory knowledge. Arranging sensory objects in rainbow order or even holding different bottles near each other to blend the colors is a mess-free way to experiment with color mixing.
Bring your rainbow density column on your next visit to Discovery Place Science for light table exploration in the KidScience exhibit!